HOW TO MAKE A Cat5e PATCH ETHERNET CABLE
Step 1This procedure generally applies to Cat 5e RJ45 connectors.
An alternate method is given for connectors utilizing a "load bar".See Connectors
Step 2Cut the cable to the length needed.
If you plan to use snagless boots, this would be a good time to slide them on.
Be sure the boots will be facing "out" towards the connector.See Snagless Boots
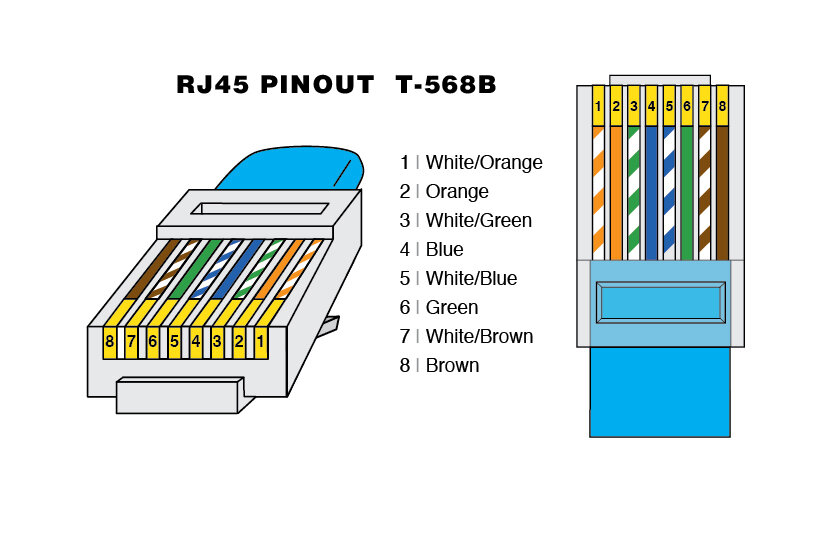
Step 3Strip back the cable jacket approximately 1 inch.
Use the cutter provided with the crimping tool or strip by hand.
Be careful not to nick the individual wires.
Un-twist each of the 4 pairs and straighten each wire as much as possible between the fingers.
Step 4
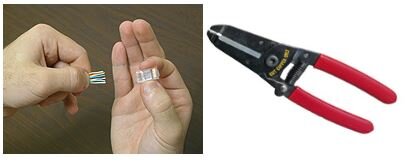
Use the 568-B wiring scheme on both ends for a standard patch cable.
Step 5
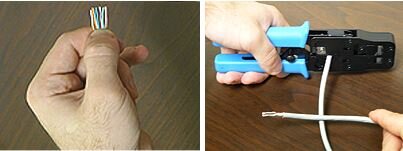
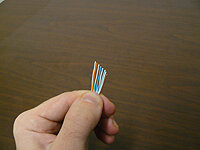
Bring all of the wires together as closely as possible.
Hold the grouped (and sorted) wires together tightly between the thumb, and the forefinger.
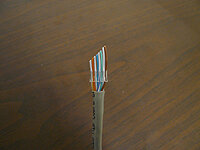
Cut all of the wires at a perfect 90 degree angle from the cable,
1/2 inch from the end of the cable jacket.
Use a sharp cutting tool so as not to "squash" the wire ends.
Step 6
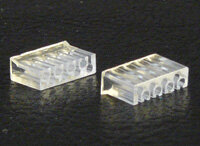
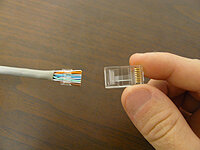
With the connector pins facing up, carefully insert the wires into the connector.
Apply a moderate amount of force in order to properly seat the wires against the contacts in the connector.Alternate for "load bar" Type Connectors
A.Note that the loadbar has slots on one side with a flanged edge on one end.
The sloted side should face the pins inside the connector.
The wires are inserted into the flanged end.
B.Hold the grouped (and sorted) wires together tightly, between the thumb, and forefinger.
Cut all of the wires at a sharp angle from the cable.
Use a sharp cutting tool so as not to "squash" the wire ends.
C.Hold the load bar so the staggered holes face toward the cable.
Insert the wires through the load bar, one at a time, carefully observing the orientation.
Slide the load bar as far down as possible.
D.Step 7Cut off the excess wire ends with a straight cut about 0.25" past the load bar.
With the connector pins facing up, slide the load bar assembly into the connector.
Insure that the wires are firmly seated to the end of the connector.
The brown pair wires should be on the right side.
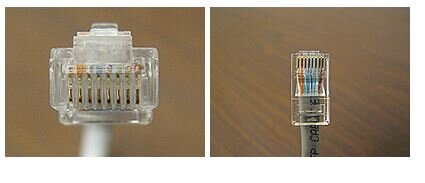
Observe the tip of the connector to confirm that all the wires are fully inserted.
The end of each wire you should be in full view.
There should be enough of the cable jacket inside the connector to crimp against.Tip: Slide the load bar forward as necessary to provide the ideal placement.
Step 8
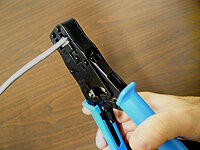
Place the connector into the crimp tool, and squeeze hard so that the handle reaches its full swing.
See Crimping Tools
Step 9
Repeat the process on the other end using the desired wiring scheme.
Be sure to slide the snagless boots snugly over the connectors when finished.
Step 10Always use a cable tester to check for continuity, opens and shorts.
See Cable Testers
Step 11
Building patch cables takes practice so keep at it until you master your technique!
Download How to make a Cat5 Patch Cable
Questions? Comments?
Give us a shout at 866-738-8993


